Help of the vertical gradient mask
I'm doing a layer in a file appear gradually from bottom to top (like a pile of sand as you pour on the sand more increases). I mean, is that I know I could use an interpolation of transformation but which looks more and more larger rather than a building gradually from the base. Who is?
I have tried everywhere and the UTU of for grqadient masks are terrible. Does anyone know where I can get a good tut on it?
I want to do without! I'm afraid to give to me is like giving whisky to the er, native Americans; It is the PC that you're going to get...
Thank you
WLM
I just had a look on the UTU again and I realized that I had done it correctly. The problem (if we can call it that), is that it will not show you the full effect in a scrub of the timeline. However, when I run a test swf you see smooth edge. Simply, you get a wisiwig in the timeline panel.
Phew, that's a relief.
Future note to self (and others): regular test run sovereign wealth funds - the things that you didn't know you did!
Here is my file with the fade of rather soft enough edge mask: https://docs.google.com/file/d/0B-cQQhdwl3C-TWZOUWpQSzZTVGc/edit
Kind regards
WLM
Tags: Adobe Animate
Similar Questions
-
Need help with the vertical navigation within the sidebar of centering bar
I can't seen to find this setting determines how the orange navigation bars can be centered in the sidebar. I've read tutorials of David and so they are useful, but I just can not find... or miss this one part. Also, is it possible to center the web page on the screen, so it is blue on both sides. I have attached a screenshot.

How do I Center a page with CSS: http://cookbooks.adobe.com/post_Centering_web_pages_and_other_elements_with_CSS-16640.html.
To Center a Spry vertical menu, change the value of the margin in ul. MenuBarVertical from 0 to 0 auto:
ul.MenuBarVertical { margin: 0 auto; padding: 0; list-style-type: none; font-size: 100%; cursor: default; width: 8em; } -
Need help with the use of masks
I tried to use the quick selection tool to select areas of a photo in an adjustment layer, but it is not put at the disposal of the adjustment. The selection is done on the photo, but not in the adjustment layer box, as the selection brush only. I find that the selection brush is rather hard to use that you can't see exactly what you select as it only indicates in the layer box not on the photo itself.
I'm sure there is a better way to do it, but I'm not.
Can someone give me a hint or a clue, please?
It would be really useful to be able to use the quick selection tool, or one of the other selection tools to isolate parts of images for extra work, or to keep separate work on the rest of the image.
I know I'm not understanding something in Elements 8 page 129 + Barbara instructions.
You must select the box before making the adjustment layer, on the one hand. To change the area of the layer afterwards, you paint according to the instructions in Chapter 10. Selections have no effect on an existing adjustment layer.
-
Hello need help with the opacity mask.
Hello need help with the opacity mask. I hope someone out there can help
I inherited a logo that appears to use a Logo of OM has a shape with a grad. This grad at first sight is not used in the Grad scheme and there is not editable. Looking at the transparency palette I find an OM (pic1) output option. If I choose what the grad on separates it from the page of the form, that is from there I can change/remove as required (Note2).
However, sometimes (he did no change), I'll be back to the same original form and output option is grayed out and is no longer available. Or I go to the similar shape that has the same treatment and I can't go out OM (pic3)
The only difference is the thumbnail in the transparency palette, which is strong in pic1 and rated on pic3. What Miss me? I'm not clear what the advantage is simply OM using the Grad palette to apply a grad in my form, but until I can get rid of OM who is there, I can't comfortably apply to the grad I want.
The white gradient LHS I have no problem with. I choose fortunately only and each time get the possibility of release of OM.


The other thing weird. When I select the white gradient. Sometimes, the exit option is in the palette without going through the drop-down list (Fig 4).
Other times seems not that OM has already been applied, because the palette gives me the ability to mask rather than liberation (5 photos). Until I go to the drop down and then I find Release is an option after all.
What is the difference here? Not much of a problem, because either way I can release OM to be able to change the grad.
The file is passed through several hands and play anywhere to try to resolve issues, and many stops and save slot, so something along the line was of course done a logo and not the other because of the difference, but I can't for the life of me see what that.


I hope someone can help. Very appreciated
See you soon
Dave
Dave,
I've (mis) understanding the issues, you can account for the box to the right in the main palette transparency (called thumbnail) here.
Illustrator help | Transparency and blending modes
represents the masking objects.
Some of your screenshots show no object mask, so it only is not really a mask even if do the opacity mask has been clicked and there seems to be one in the layers palette, wherever you look.
I think that it is perhaps the issue.
-
Can anyone help to lose the gray-brownish remains of the process refine mask edge
Hello
First post here. I tried to learn the tool "Refine edge mask" and have had some success. I can brush the bottom, but when the algorithm ends the procedure (if I click 'OK'), I find myself with a slight grey or brownish tint around the perimeter of the image. I've attached an example below. If I drop the contrasting background, such as a blue sky, it looks very good indeed until you start to see the light grey around his hair. I can rub it using the eraser, but here where it counts, in detail, I would always rubbing his hair as well. If I do that, it starts to look bad enough quickly. Can anyone offer some words of wisdom? SP6, not extended on Windows 8, but it happened on an Airbook as well (which means I'm the problem, I think)

Thanks for reading
Hiya, that's not really a topic for beginners and you'd probably get a better answer in the forums main photoshop.
Masking hair is one of the most difficult thing to do in Photoshop. The dilemma is that you need transparency for the hair to look natural, but that results in a gray halo around the curls models. A good way to approach this problem is to work on the mask itself is not not the image. You will find that if you paint on the mask with a soft brush to a low opacity in overlay brush mode (not layer) with a default black color, it darkens the gray until it gets closer in black, all while not affecting only not the box white mask - so you don't need to be prudent-memory white reveals black cache - on your image where there currently gray you will see the background. We 4 hours on Ribbon of hair tutorials, but I hope it helps a bit.
Terri
-
I still new to this looking for help in the design of the menus for a potential site. I'm in the stage of planning at this stage.
Basically, I would like to know:
-What make or design a horizontal menu with rollover (different colors)? Do I need to use Fireworks or any particular graphics program, for example, Photoshop or Fireworks etc... DW 8 (CSS is required)
-What or how to make a drop down menu with mouse capabilities? Is this possible in DW 8 or do I need Fireworks or any graphic program (is required CSS)
I have 8 DW... I tried to read as much as possible... but I think you guys can point or provide the best advice.
I tried to like this site as well.
Sandrine
You can do WITH DW. But we must always: you should know that
you do.I agree with Tim. Departure on the PVII site and unless to pass by the
Tutorials which teach you how to do it in DW.--
Murray - ICQ 71997575
Adobe Community Expert
(If you * MUST * write me, don't don't LAUGH when you do!)
==================
http://www.projectseven.com/go - DW FAQs, tutorials & resources
http://www.dwfaq.com - DW FAQs, tutorials & resources
==================
News:fqnskh$Gs0$1@forums. Macromedia.com...
>
>
> Hi TC212
>
> Not do this in DW? Thanks for your quick response.
>
> Just thought I could do this in DW without third-party Elements?
>
> Thanks again...
>
> Rod
> -
"Select inverse" equivalent - or a clipping on the top layer mask
Hiya.
I'm looking for something in Illustrator that would allow me to do the equivalent of what a "select inverse" then delete, or would a "layer mask" in Photoshop. I haved tried various combinations of clipping mask and dedicated way without any acceptable results.
included is a screenshot of what I'm talking about:

I was given this file and it's messy. I am wanting to delete all points except those on top of the layer gradiented. (as this second picture).

There is no living text. Currently, gradiented layer is separated the two layers and it has a line on that. Each wee point is its own form now too.
When I tried clipping or transparent traces or various pathfinder effects masks I ended with results that look like this:

I am so at a loss for what to do. I tried moving layers around - which is at the top, which is located on the bottom. I tried to remove the red and black shadow-ish layers below; all sorts of other miscellanopus and so forth as well.
Any help would be simply amazing!
- Select all tasks and 'group '.
- Select the gradient objects and "copy".
- Stick in front of the Group Spot
- Make work path transparent "(Cmd/Ctrl + 8)"
- Small group composed of path and tasks
- Take the clipping mask (Cmd/Ctrl + 7)
-
The use of masks to cut a hole in a layer
Can someone help me please.
As soon as I thought that I had the idea of the use of masks to cut a hole in a picture of a book on Photoshop CS6 I tried my own exercise to see that I couldn't have my idea to work: -.
(1) Firstly, I chose an image of clear blue sky as a background image.
(2) second, I chose an image of a duck set amoungst it's own background.
I proceeded as follows: -.
(1) I open both images in Adobe bridge.
(2) then, I made a selection of the duck using the Selection fast and saves the selection as a selection tool.
(3) I renamed the layer of duck, just duck.
(4) then, I opened the picture of the blue sky and named the sky of the layer.
(5) then I went to windows, arrange, 2 vertical space to get two images on the screen.
(6) using the move tool and I spend clicking to align the image of duck in the center of the image of the sky.
(7) next I layer sky move towards the top of the layers stack.
(8) then I loaded my selection of the duck.
(9) next I clicked on add a layer at the bottom of the Panel.
(10) I then painted with a black brush to reveal the duck under sky.
Everything seems to work well, but rather than get a picture showing just theduct across the sky, it appeared that the selection has been
no work and he selected the entire image with duck and its background.
Can you plase advice why and how can I fix my proceadure to get the correct result?
I have one of my exercises of the trial correct or I am just barking the wrong tree and missunderstood how masks!
Any help would be most appreciated.
Concerning
Mark
You have a lot of steps here: some useless, some confused. I suggest you just starting from scratch.
Bring up the image of the sky. Evoke the image of a duck and drag on the image of the sky as shown below.
Select the duck and with the mobile dotted lines showing, click on the symbol of the mask at the bottom of the layers panel.
Finish

-
Three vertical gradient color Muse
Hi all
I want to have a background gradient in Muse. I found there was a very simple way to do it, but I can choose only two colors.
My client wants to have a three colored vertical gradient background, is it possible in Muse?
The top should be black, black to turquoise in the middle and back to black again once downstairs.
I know there is a way to add a picture to the background, but I think it will make my site very heavy and bulky to load, and it must stretch and shrink if browser varies in length and width.
I have the HTML script for this kind of gradient, and I know that I can add an HTML element in Muse, but I don't know how it works for a background.
I hope someone can help me!
Thank you!
Caroline
Hello Sir,
According to the guidelines of the muse works only two colors can be used to create a gradient. Although you can create Gradient in Photoshop using more than three colors and later versions, you use the image created in the Muse.
Kind regards
Nitin Kapila
-
Making the ear of corn and need help with the ball.
I do some corn on the COB for an illustration and I need help with the texture of the ball. I've been slowly making progress with gradient for kernels mesh, but I can't seem to recreate the look of the ball at all. I tried to recreate it in a rectangle by using the option in the menu object (1 row, 50 columns) gradient mesh and I'm trying with the fusion in object mode, but not lucky yet. Can someone help to put me on the right track to make the texture:
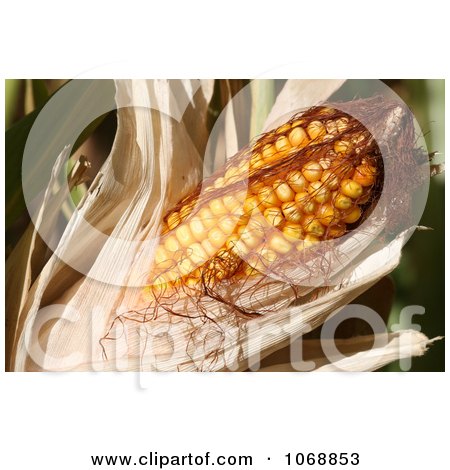
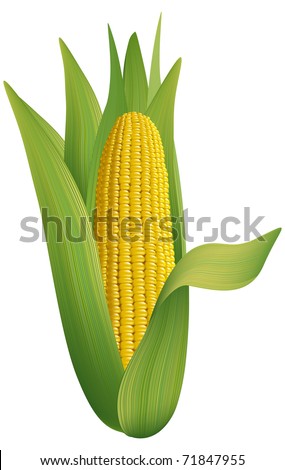
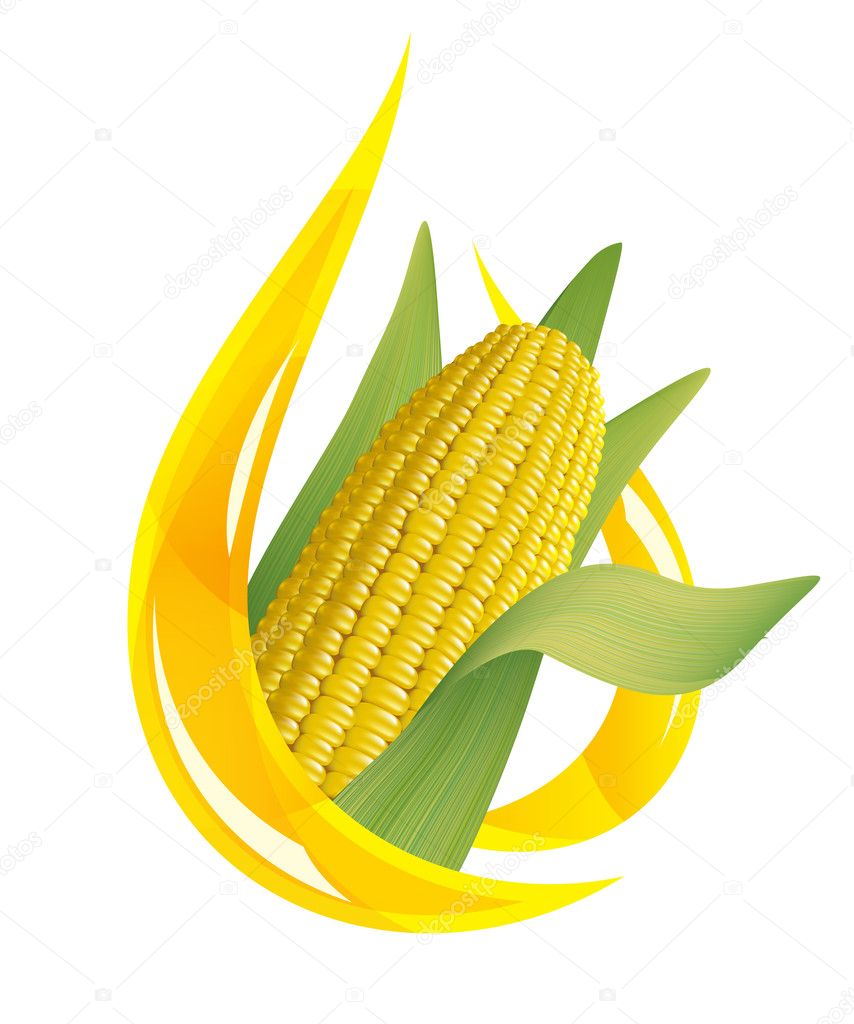
I've been slowly making progress with gradient for kernels mesh, but I can't seem to recreate the look of the ball at all.
Tank,
You have published three images stylistically very different. The first is photographic and call probably (but not necessarily) for graduates of mesh. The other two are graphical treatments (and frankly, they're both rather flat; lack of depth).
Illustration style extends the range of cartoonish in sketchy photo-realism and all the rest. The problem is you didn't show your own attempt so that anyone can have an idea of what you're trying to achieve the stylistic point of view.
I just need to put in place so that the final step does not appear the whole box. The problem now is trying to make the style of the good brush to reproduce the effect...
You seem to think you have to build a kind of linear construction and then find a way to reshape the shape of each part of the leaf. Yes, you pouvez approach it this way, but Illustrator users has often tend to be what aunt Molly would call "too clever by half."
Not everything must be something semi intelligent auto or complex and tedious consruct involving brushes, envelopes, masks, etc, etc. Much can be accomplished by thinking that he just thanks to measure you draw directly economic paths and constructions, which take no more time (often less) and result in very tidy, simple files. Again, a lot depends on what you are trying to achieve the stylistic point of view. But here's an example that only took a few minutes to draw:


If the above consists of:
Three roads closed, 8 points each, with ordinary linear degrees
Three mixtures of open path with three anchor points for each key path
Six paths closed for shadows / highlights, with 19 points in total
Mixtures being directly from the paths drawn comic forms, the spacing of the veins 'automatically' and intuitively follows the width from point of view of the worksheet.
Rather than to build a boilerplate brush, colouring and the weight of each of the three main paths of the vein mixtures can be set individually at any time, simply directly by selecting the key path.
JET
-
angle of reflection gradient masking
Hello photoshopers
Im trying to figure out the right way to add a gradient mask but on an angle on my image.
I cut out of batman and trying to give a reflection.i have 2 thoughts using gradient mask
1 is just vertical flipped and I have added a gradientr mask, the 2nd image I reversed the image
and added a gradient mask, but I also used the skew and deform, but the foot seems a bit odd, because of the tilt
and distortion.is there a better technical to achieve a better and more realistic reflection?
Thank you.

I think that the feet could take more editing; counteract the distortion of the torso, head, legs and arms may not be worth the trouble, however.

-
Flash no longer appears gradient mask!
Were there an update this weekend which is broken masking?
I tried gradient mask an object at a time by using a vector mask and a png mask. NONE OF THEM WORK! Last week it woeked - and another here at my work nooene can operate either.
Gradient masks are just watch by a square. No way to get smooth edges (gradients on a hidden object more).
See test file:
http://OpenSpace.subsero.dk/download/mask_broke.zip
Please quick help
Use a gradient to a layer mask requires that the mask and the hidden objects be cached as bitmaps and the mask object layer defined in Actionscript. This is not new.
Use a gradient to a layer mask without the above will give you a mask with a hard edge to the size of the object that contains the gradient.
Definition of an object on the stage as a mask will work for any hard sharp vector or bitmap.
-
That really means the vertical range? And the gain factor?
The NI PXI-5102 digitizer: that means vertical range really means, it is the range of voltage of the signal to be measured or the signal to the ADC input terminal?
How to control the gain of the digitizer? And what are the factors that can affect the gain?
The portrait is located between the valid entries range of the digitizer on that channel. If you set the interval to a value that is not valid, it will be converted to the next highest value. This is the way you control the gain of the digitizer. It is easier to define the vertical range on the maximum expected range of your input signal and allow the driver to NO-SCOPE compel the beach to the next highest value. This allows you to use your code effectively with more than one type of digitizer (5102 and 5112). For example, you know that your input signal has a range of 3 v (+/-1.5V). Set the vertical range at 3. OR-SCOPE that will force to 10V, the next beach valid more high for the 5102. You can find the valid vertical beaches for your device in the folder of Documentation OR-SCOPE in your Start menu or online.
Mitigation on your scope probe will affect the vertical range of the device. If you have a 10 X probe and defined the vertical range to 10, the actual vertical scale will be 1. You can have NO-SCOPE figure that out for you by setting the mitigation of the probe with vertical Configuration.
More information on the routes of entry, and gains are available in NO-SCOPE help about using vertical configuration.
-
HP 3050 leaves the vertical line of toner on paper
Let the vertical line of toner on paper
Hello
You should check with the help of HP as it's a problem with the printer and not Windows.
Also check their forums where there are others with the same printer.Support HP & drivers
http://welcome.HP.com/country/us/en/support.htmlContact HP
http://welcome.HP.com/country/us/en/contact_us.htmlHP forums
http://h30434.www3.HP.com/PSG/I hope this helps.
Rob Brown - Microsoft MVP<- profile="" -="" windows="" expert="" -="" consumer="" :="" bicycle="" -="" mark="" twain="" said="" it="">
-
Can't turn off the vertical synchronization.
Hi all.
I tried for centuries turn off vertical sync (vsync) in a certain game with various programs (PowerStrip, ATI Tray tools, ATI Catalyst Control center), but even if I managed to turn off vsync in all these programs, it actually does NOT turn off. I checked this with the own of the game FPS-audit tool (he said ~ 60) with Fraps (it said 60 institutions). With vsync off, FPS should be easily more than 200 (depends on the resolution too).
I don't think that mentioning the name of the game is important at this point, but it's since 2000. My graphics card is ATI Mobility Radeon 3100 and the operating system is Windows Vista SP2.
I also tried to run the game in compatibility mode, but they do not work.
I heard a rumor that Windows Vista only checks the application for vsync setting and does not take into account these external programs. I hope that isn't true because vsync can be changed in the game itself (default setting is on).
I ran all programs "as Administrator" so it should not be up to that. Help, please! This is the second forum I ask this question (never had one on the other).
Hello VsyncHater,
Thank you for the feedback. You won't have to do a reg edition. First let's get the latest driver for your video card ati.amd.com and the version of Vista, never use the update feature in Device Manager to search for the video card drivers. Now, I've included a link to a full walk-thru for the ATI Catalyst drivers and that each parameter and means. This guide helped me to improve my understanding of how the different settings worked and carried out gameplay and other visual media. It should help get the game experience you're wanting you and how correctly the changes that Gloria was referring.
Please let me know if this helps you.
Happy fragging and tell them of Zack sent you.
Zack
Engineer Microsoft Support answers visit our Microsoft answers feedback Forum and let us know what you think.


Maybe you are looking for
-
X 240, fingerprint reader not working after sleep or lockscreen
Hi all I have a new X 240, and the fingerprint logon no longer works when the computer comes out of standby or a lockscreen (screen saver). I checked other solutions here and on other sites, namely: 1 uncheck the option of the power of the drive in t
-
Registration of Windows XP Professional
I installed windows XP Professional on my laptop which had XP Home top. Opening on the desktop it tells me I need to activate windows before I can use it. I say Yes and get an error the instruction at 0x7e4195c8 referenced memory at oxoooooo48. the m
-
Need driver for MATSHITA DVD/CDRW UJDa755z.
My DVD/CD-RW drive does more; I want to update the DRIVER... hoping that my DVD works again. Help!
-
Restore function looks like it works but not recover.
I tried restore several times and it seemed he was working but would never restore to a set point. I even made a point and then tried to restore at this point without success. The answer was "Impossible to restore.
-
Office size drive HARD primary Pavilion T245.it (DM042A).
Hello I need to change the disk HARD primary (80 MB) from my desktop HP Pavilion T245.it (System DM042A number), works perfectly since 2003 - thank you HP! - and I would like to know what is the maximum MB drive HARD size my PC / BIOS can handle. Tha