My anchor points move if I resize my work.
I need help! I have to have my work to a specific size when I send things in production at my company, and this month my Illustrator did something weird. When I expand text, and then resize it to the size I need, Illustrator deletes my text segments! I don't know why. She also does if I use any tool of Pathfinder. I tried to release traces transparencies and flattening and always the same result every time. Is anyone know why or a solution to this? Images below!
The size of my departure: I show the anchor as well!

When I resize it is smaller or pathfinder it:

You can see a few thicker lines, get some super thin and disappear! I've resized from 10 inches to 8 inches. It doesn't matter if I'm bigger or smaller. If I resize it somehow. Its policies also not only, it will be repeated to logos, forms, lines, whatever it is.
Check if things are aligned to the pixel grid. It is a function object option in the transform Panel!
Tags: Illustrator
Similar Questions
-
When you use the pen tool when I click and create an anchor point and release the mouse button the pen tool emerges from the anchor and allow me to go and select a new anchor point. The right pen tool keeps adding lines that I move the mouse. How can I get the pen tool to release the anchor
Try this.go in the menus. Select cc illustrator > preferences > display selection & anchor > then make sure the box "activate the rubber band for" the pen tool is not selected. Then press OK. It should work.
-
How can I move two anchor points overlapping of distinct objects at the same time?
Please refer to the picture for clarification:

Pink and blue objects in the image are distinct forms that have the same number of vertices/inkings. The forms have been generated with ArcGIS and exported to a. File to HAVE it. I need to move the anchor points of these two forms, so that they create a trail that follows the outline of the layer of the topography, but it seems that I can only move the anchor of a shape at the same time. Is there a way to pass the two anchors both (anchors that overlap, one of each shape)?
I should also add and subtract some of the anchor so while making it so each anchor is not a 'corner '.
I want to essentially merge or merge the anchor points of the two forms while maintaining the two colors, so that they share a border.
Any help will be a life saver! I can try to clarify if it is not supposed. Thanks in advance!
-Jake
Jake,
You can click on selection of object through only in preferences, then after the first deselect all ClickDrag (click outside paths) with the tool directly on each game Selection and then ClickDrag to move (you can simply go to set).
-
I can't move the anchor points on a shape, I've drawn with the pen tool. There are also small circles with a point in them (think focus), who they are and they are part of my problem? If I open a new document and draw randomly everything is good, no anchor and focus points behave.
Bubble icons are the widgets corner. You can drag inward to round the corner. They are not part of your problem. If you want to hide them, select view > hide corner Widget. I have a hotkey defined for this menu item.
If you see multiple bullseyes, you may have your set with the shape selected, that would prevent you from being able to move individual anchor points. Deselect the shape first, and then move the anchor with the direct Selection tool.
-
direct selection - move the anchor points with the arrow keys of the keyboard
Hello
I use Illustrator CC. I just use the image tracking tool to create a version vector of my company logo. It worked pretty well, but now I'm just trying to clean it up a bit. I have a few anchor points that I want to just push upwards or downwards into the smallest possible increment.
I think it would be easier for me to do using the arrow keys on the keyboard instead of the mouse, but the arrows cause my selected anchor point to jump in too large a distance way. I checked to make sure that the bearings commented, snap to grid and snap to Point are all extinct. I don't see anything else to do.
Can someone tell me which control how the keyboard arrow keys will move an anchor point, and how can I fix this to the smallest possible distance?
Thanks in advance,
PaulGeneral Prefs, area keyboard Increments. Have something you need.
Then use Nudge (up, down, left, right arrow).
-
Move the handles of direction in synchronization with the anchor point?
Hi all
I'm trying to move the anchor points on a random object (to get an informal aspect). (I know that some effects that already.)
Maintenance of corner points is no problem - you just put the handles of direction to the same coordinates as their anchor.
But I can't move an inflection point in the way I want it, which is to move the anchor point, but maintain the direction handles in exactly the same relation to their anchor as they did before. That is to say, they should remain smooth points.
My script calculates the difference between the 'before' and 'after' the position of the anchor and applies this difference for the handles of direction... but in practice, the smooth points are converted at the corners, because the direction handles does not maintain their relationship with the anchor point.
Would appreciate if someone can point out the flaw (s!) in my logic.
var docRef = activeDocument;
var activeDocument.selection.length = objects;
var prompt = cShift ("Point change (pt)", 5 ");
loop through all objects
for (var count = 0; count < objects; count ++)
{
currentObj = activeDocument.selection [count];
Nudge (currentObj);
}
function Wizz each object
function nudge (obj)
{
var objPoints = obj.selectedPathPoints;
var objPointCount = objPoints.length;
for (var i = 0; i < objPointCount; i ++) {}
var thisPoint = objPoints [i];
var go = thisPoint.anchor [0];
var vb = thisPoint.anchor [1];
var = thisPoint.leftDirection [0];
var lb = thisPoint.leftDirection [1];
RA var = thisPoint.rightDirection [0];
var rb = thisPoint.rightDirection [1];
If (goes == the & & will == ra & & vb == lbs & & vb == rb)
{/ / If the point corner, alternate the position of anchor}
go = go + ((Math.random () * cShift));
VB = vb + ((Math.random () * cShift));
thisPoint.anchor = Array (va, vb);
handles direction all at the same position, now a corner point
thisPoint.leftDirection = Array (va, vb);
thisPoint.rightDirection = Array (va, vb);
}
on the other
{/ / not a corner point: keep handles in the same position relative to their offbeat anchor}
var = va2 will + ((Math.random () * cShift));
vB2 var = vb + ((Math.random () * cShift));
thisPoint.anchor = Array (va2, vb2);
This bit calculates random offset applied to the anchor
var anchorShifta = va2 - going;
var anchorShiftb = vb2 - vb;
These lines apply the same quarters for direction handles
thisPoint.leftDirection [0] = la + anchorShifta;
thisPoint.leftDirection [1] = lb + anchorShiftb;
thisPoint.rightDirection [0] = ra + anchorShifta;
thisPoint.rightDirection [1] = BO + anchorShiftb;
}}}
Modification of the other part:
else { // not a corner point: keep handles in same relative position to their shifted anchor var aShift = Math.random()*cShift; var bShift = Math.random()*cShift; thisPoint.anchor = [va + aShift, vb + bShift]; thisPoint.leftDirection = [la + aShift, lb + bShift]; thisPoint.rightDirection = [ra + aShift, rb + bShift]; } -
Can I move the anchor Point for the adjustment brush in ACR CS5
There has never been a problem before, but the anchor point for the adjustment in ACR brush is sitting exactly where I need to see what is happening. I can delete and start over, but if there is a way to move or hide the anchor in stil be able to adjust the setting, it would be useful to know for the next time it happens.
You can press the V key to toggle the power switch pins.
-
I use CS4.
When I try to select an anchor point, the actions I take immediately highlight the position and position - not the anchor. I use the selection tool - is not serious if I select the layers or via screen - same thing happens.
Any thoughts?
Thank you!
If you use the Pan behind tool (keyboard shortcut is the key there) and enter the anchor point, the anchor moves relative to the layer, but does not move the apparent position of the layer in the composition. If you check the position values in the timeline panel, you will see that they change when you drag the anchor around the layer.

If you enter values of anchor point in the timeline panel, the relative position of the layer seems to be moving in the composition window, but the position of the values do not change because the position of the anchor point is not mobile at the composition level.
The value of the position of a layer is always the position of the anchor from the composition. The value of the anchor point is the position of the anchor relative to the layer. Rotation and scale centered around the anchor point of the two.
I hope this helps.
-
Why when I spend between a center-aligned line and fill my anchor points do they move?
Hi, I use Illustrator for many years and never noticed this happens when I fill out a form - can someone explain why this is happening?
I paint a logo using an accident stroke center aligned, rounded rectangle and another path merged to make my logo... like this plan...

.. .and when I change my race aligned at the center of a STROKE to a fill and vice versa (to make the black solid form), the anchor points of my shape... move about 10 times for fswitching between the fill and stroke, background and outline etc. my ways look like this...

Why is this happening? It doesn't do this when I use a line lined up outside or inside the way - just at the moment where the storoke is aligned with the center of the path? CAnanyone explain why this happens? What going on here?
-Thanks in advance!
-Pete Moore
To this object in the transform Panel, uncheck "snap to grid of pixels.
-
on the set of paths, select anchor points and move the handles at the same time
Select a group of anchor points, I want to drag the handful of roping and have other anchorage handles to move the same angle and length than I'm moving, I can currently do drag up the warp through the paths tool to get some sort of equal effect I want but that is not always the same ,
I wish that all grooves (paths) to have the same length and angle of anchorage handles. Thus, they maintain their relations. But I want to do this actively by dragging one of the handles to anchor, not by a dialog with preview,
(I would also be viewing live update of the race while you adjust, not just of the paths)

Quite simply... You can not.
At least not without third-party plug-ins such as XtremePath or Control Point. And even then, you must move the handles, do not drag.
-
Cannot resize with anchor points more
When I select objects in Illustrator, I am no longer able to resize them by dragging anchor points. The area around the selected object appears even more, so I have to use the resize tool instead. Y at - it a setting or preference which will give the possibility to resize by dragging?
is to show the bounding box your problem?
-
Merge multiple paths to a single anchor point
Hello friends,
I want to create a perspective of illustrator grid to use with other software.
I would like to know if it is possible to merge several paths to an anchor point unique to a single point perspective grid that can be easily changed by moving the anchor point in the Middle, as in the picture below.
Imgur: the most impressive pictures on the Internet
An anchor may reach only 2 segments of track. Your image must at least consist of 2, if it is not not 4 paths. But you can select multiple anchor points (not a path) and use the Panel line up to get them exactly on the same position. Later if you want to draw a rectangle with the direct selection above them, move them around and move these selected elements.
-
When you put anchors in my site for mobile layout when selecting in the menu, it's not going to the right place, it then changes available to sit on the left side of the page.
I use the reagent liquid/setting in page?
I'll try to explain more:
Move to the anchor point is always linked in the upper left corner of the browser. Therefore, the best practice to place the anchor point is as follows:
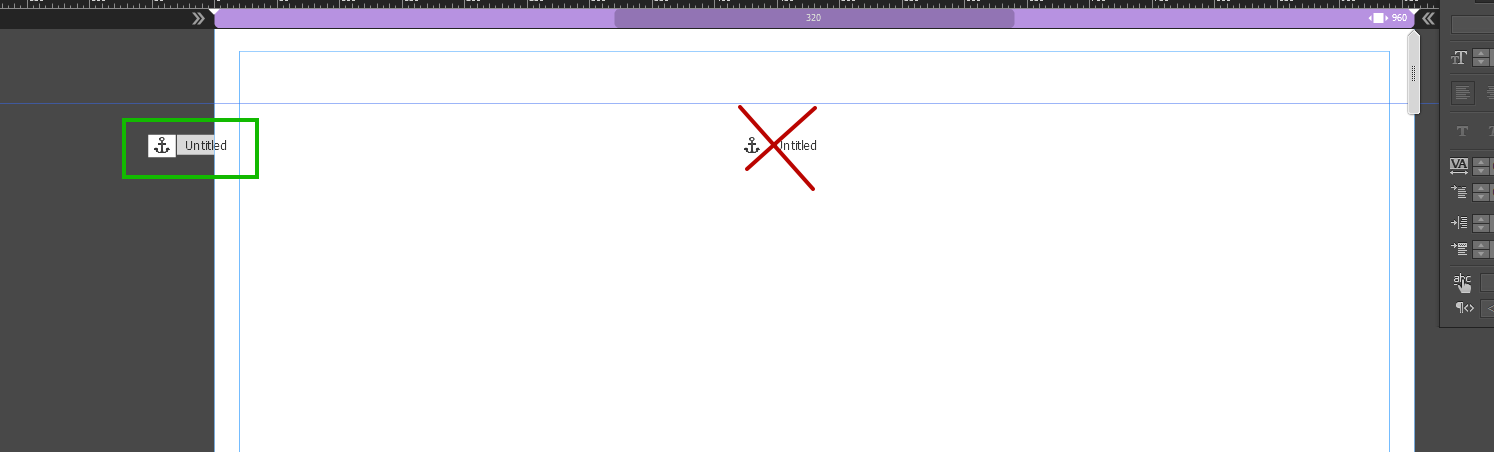
You have an anchor that is placed in the center of the page. Due to the fact that right there is what this object, your site is much broader than it should be and has a horizontal scroll bar on my screen 1920px. So click on the anchor to equality in the upper left corner of the browser, the entire site be shifted to the left.
If your site does not object to the outside, you would not notice a problem, even with the anchors in the Center. Now you can correct partially, if you move the anchor points to the left. But you have a horizontal scroll bar - this is the main cause of the problem, not to anchor themselves. You need to find the cause of the horizontal scroll bar and remove it
-
How set the anchor point of the composition (no layer)
Hi people,
I have a composition very long and skinny. In a far corner of the comp, I'm turning a layer on the x axis, but I want to turn backward in relationship to itself, and NOT with regard to the focus of the long and lean model. I changed the anchor point of the layer itself to be the center of the layer, but it always tilted toward the center of the model:

How can I change the anchor point of the comp itself? I tried to change the position of 'anchor' in the grid 3 x 3 in the composition settings panel, but that seemed to have no effect. Thank you!
mbirame wrote:
It makes sense, but it surprises me. If the point of leakage of a 3D object will always be in the center of the composition?
No.... Just like in real life, point of view is controlled by the position of the camera, the angle of view is controlled by the focal length, and the center of the view is always on an infinite perpendicular line between the center of the plan of the film (point of interest). The human eye is not tilt shift, like the cameras was discovered and no not the camera AE (or no matter what camera I've ever seen in a 3D application, so you can not control the perspective by winning the film plane or by moving the center of the lens as you can do with a camera or a tilt shift lens.
The vanishing point is where the parallel lines converge and depends on the angle of parallel lines to the camera.
I hope that makes sense.
Here's the thing about nesting more small compositions in a larger. If you put 3D layers in your nested compositions and condense the transformations, then the camera in the main computer will interact with the 3D layers in nested compositions. If you do not condense the transformations there will be no change in perspective as the camera moves into the main computer. If you do not condense the transformations and you make the 3D before comps will organize just flat cards in the main 3D model space.
One last thing. Only the Active camera view has perspective. All custom views are orthogonal - no perspective. This
It will take a minute, but you should be able to wrap your head around that. Here is a demonstration of model how global collapse of transformations. Feel free to play with it. Collapse Transformations.aep (Note: your browser may add an extension .txt to the app file - just delete it)

-
How to anchor points in the new update?
Add the anchor button is missing?
I was able to move the anchor points that are already in use before the update. After the update, where the button 'add an anchor' is? Please answer ASAPHave just a glance at the lower end of the toolbar.


Maybe you are looking for
-
HP 15 RUNNING WINDOWS 7 (64-BIT) I NEED DRIVERS FOR THE FOLLOWING: ETHERNET CONTROLLER - PCI\VEN_10EC & DEV_8136 & SUBSYS_216F103C & REV_07 NETWORK CONTROLLER - PCI\VEN_10EC & DEV_8179 & SUBSYS_197D103C & REV_01 PCI DEVICE - PCI\VEN_10EC & DEV_5229 &
-
do not charge the iPad battery
I bought an iPad Mini 2 a few days ago and it doesn't seem to be able to charge. I tried several USB ports and also the charger which is included in the package - I was sure that it was not sufficiently powered Chargers so I bought a charger 12W yest
-
I know that we can now acquire multiple cameras in VBAI (thanks!). However, in my view, what to do so leads to very complex control sequences. It doesn't look like VBAI has fully embraced parallelism for anything other than the FTP transfer. What
-
Install TWO Photosmarts on a single network/PC
Hello My wife and I share a small home network. It runs Windows XP SP3, I run Vista Home Premium SP2 32... I have some 'other' PC that I get from time to time, Windows 2000 based. We have a Photosmart 2710, which has had a good life, but starts to b
-
XPS 8900, use of Nvidia GTX 745
Hello I bought a Dell XPS 8900 with a GTX 745. Should arrive this week. Will this DDR3 4 GB Dell OEM Nvidia GeForce GTX 745 c: NVIDIA GeForce GTX DVI out--> in--> #1 U2412M DVI DVI to DVI cable = 1920 x 1200 NVIDIA GeForce GTX out HDMI--> HDMI / DVI-